When you press your car’s brakes, the brake pads produce friction against the revolving disc, slowing and eventually stopping the wheels. But, you may notice that the brake pads are not always hitting the entire disc, which can lead to lower braking performance, greater wear and tear on the brake system, and possibly dangerous driving situations.
There are various reasons why brake pads may not be hitting the entire disc, including problems with the braking calipers, brake lines, or even the disc itself.
In this post, we’ll look at some of the most common causes of brake pads not hitting the entire disc and what you can do to solve it.
Contents
- 1 Understanding Disc Brakes
- 2 Why are Brake Pads Not Touching the Whole Disc
- 3 Fixes for Brake Pads Not Touching the Whole Disc
- 3.1 Check and replace brake pads as needed
- 3.2 Stuck or sticking brake caliper
- 3.3 Adjust the brake caliper to ensure appropriate alignment
- 3.4 Check and replace brake fluid if needed
- 3.5 Check and repair any warped or broken brake rotors
- 3.6 Replace defective brake lines or hoses
- 3.7 Check and repair the problematic brake booster
- 4 DIY vs. Professional Brake Repair
- 5 Conclusion
Understanding Disc Brakes
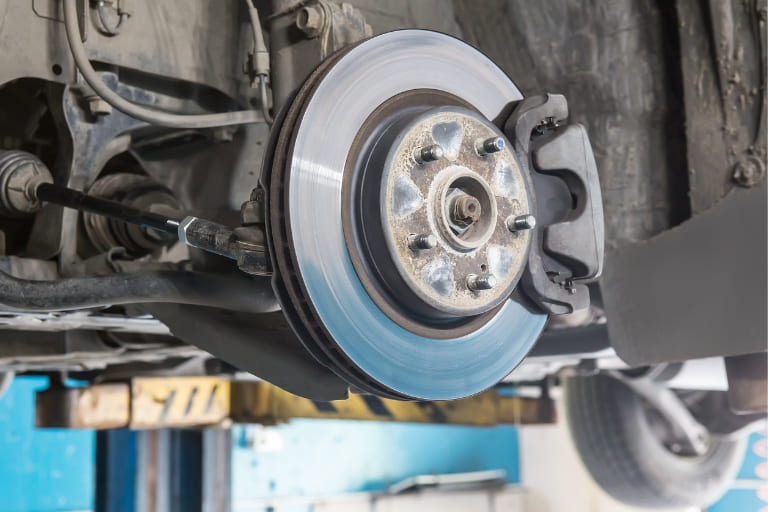
Disc brakes are a braking mechanism that is commonly seen in automobiles, motorcycles, and bicycles. They function by utilizing friction to slow or halt the rotating wheels.
Disc brakes’ primary components are as follows:
- Caliper: A caliper is a mechanism that contains the brake pads and delivers pressure to the disc to slow or stop the wheel. It can be fixed or sliding, and it can be operated by hydraulic or mechanical power.
- Bracket: A bracket is a component that secures the caliper and connects it to the wheel assembly.
- Guide Pins: These are short metal rods that hold the caliper in position while allowing it to move back and forth when the brakes are applied.
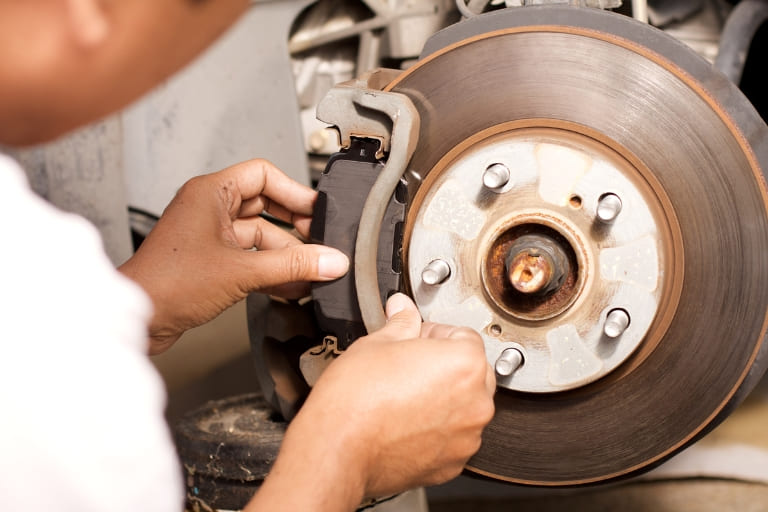
- Brake Pads: The brake pads are positioned inside the caliper and comprise friction material. As you use the brakes, the braking caliper forces the brake pads against the revolving disc, generating friction that slows or stops the wheel.
- Disc: The disc is a rotor made of metal that is connected to the wheel assembly. The brake pads brush on the disc as you use the brakes, slowing or halting the wheel.
- Caliper Hydraulic Action: The hydraulic disc brakes’ caliper utilizes hydraulic pressure. When the brake pedal is pushed, a piston in the master cylinder is actuated, delivering hydraulic fluid to the caliper. The wheel then slows down or comes to a stop due to the fluid pressing the brake pads against the disc.
Disc brakes are an efficient and effective braking system that relies on several key components working together to slow down or stop the wheels.
Why are Brake Pads Not Touching the Whole Disc
There can be several factors for the break pad not touching the whole disc. Some of them include the following:
Worn or unevenly worn brake pads

Brake pads can wear down and become uneven over time, causing them to lose contact with the entire disc. This can lead to lower braking efficiency and higher brake system wear and tear.
Brake caliper stuck or sticking
If the brake caliper is stuck or sticking, the brake pads may not fully contact the disc. As a result, the braking system may work poorly and brake pads may wear unevenly.
Warped or damaged brake rotor
A warped or damaged brake rotor may allow the brake pads to make contact with only a portion of the disc. As a result, uneven brake pad wear and poor braking performance may occur.
Brake caliper that is loose or misaligned
A brake caliper that is loose or misaligned might cause the brake pads not to make contact with the whole disc. As a result, the braking system may work poorly, and brake pads may wear unevenly.
Faulty brake lines or hoses
Faulty brake lines or hoses can result in a loss of hydraulic pressure, preventing the brake pads from making contact with the whole disc. This may result in less effective stopping power and potentially risky driving conditions.
Defective brake booster
A defective brake booster can result in a loss of hydraulic pressure, preventing the brake pads from making contact with the whole disc. This may result in less effective stopping power and potentially risky driving conditions.
Fixes for Brake Pads Not Touching the Whole Disc
If you are experiencing brake pads not touching the whole disc, there are several potential fixes that you can consider:
Check and replace brake pads as needed
Worn or unevenly worn brake pads should be changed. Placing new brake pads guarantees a consistent braking surface and that the pads make contact with the whole disc. You may check and replace brake pads as needed by following these steps:
- Remove the wheel to have access to the brake disc and caliper.
- Remove the old brake pads by unbolting the caliper.
- Examine the brake disc for scoring. If there is any scoring, that must be changed as well.
- Slowly compress the brake piston.
Stuck or sticking brake caliper
If a brake caliper becomes stuck, it may need to be cleaned or replaced. You can follow the following steps to repair a stuck brake caliper:
- To gain access to the wheels, jack up the vehicle.
- Take off the wheel.
- Brake pads should be cleaned.
- Remove the caliper and pads from the brakes.
- Remove the brake caliper and clean it.
- Ensure that the brake calipers, pins, and slides are lubricated.
- Replace the calipers, brakes, and wheels.
Adjust the brake caliper to ensure appropriate alignment
The brake caliper may need to be adjusted if it is out of line with the disc. To modify a brake caliper using only an inner pad adjuster, follow these steps:
- Loosen the caliper mounting nuts first. The caliper can now float as a result of this.
- Move the inner pad adjuster completely clockwise, then back off about 1/4 turn.
- Lift and hold the brake lever firmly in place. This brings the caliper body into line with the rotor.
- Tighten the caliper bolts.
- Pull back on the brake lever.
- Back off the pad adjustment a quarter turn more.
Check and replace brake fluid if needed
Brake fluid may need to be replenished if it is old or polluted. Follow these procedures to check and replenish brake fluid:
- Find the reservoir for the brake master cylinder. It is often situated on or near the firewall at the back of the engine compartment, practically right in front of the brake pedal on the other side of the bulkhead.
- Examine the fluid level. The reservoir in most recent automobiles is transparent, with a clearly indicated “full” line.
- If the level is low, top it off with brake fluid.
- Reinstall the cap/top.
Check and repair any warped or broken brake rotors
It should be changed immediately if you detect anything wrong with your rotor, such as warping or bending.
Inspect your rotors for any evident warping or damage to check for warped or damaged brake rotors. If there is no visible damage, you may check for brake pulsation by gently pushing the brake pedal while the car is still.
Replace defective brake lines or hoses
To replace faulty brake lines or hoses you can follow these steps:
- Secure your car.
- Take off the wheel.
- Disconnect the brake hoses.
- Remove the brake hose.
- Replace the brake hose.
- Pour in the brake fluid.
- Bleed the brakes.
- Replace the wheel.
Check and repair the problematic brake booster
If the booster fails, it may need to be replaced. Follow these procedures to inspect the brake booster and master cylinder:
- Use the emergency brakes/hand brake and park the vehicle.
- Examine the rubber tube connecting the brake booster to the intake manifold under the hood. If you see cracks, hard places, or swollen regions in the hose, replace it immediately.
- Start the engine and let it idle for five minutes.
- Turn the engine off.
- Allow the engine to idle and press the brake pedal.
Note: It is always advisable to seek the advice of a competent specialist. A professional technician can inspect, diagnose, and recommend the best course of action.
DIY vs. Professional Brake Repair
Certain brake repair operations may be completed as do-it-yourself chores, while others require expert assistance. Here are some suggestions for whether to do your brake repair and when to seek expert assistance:
DIY Brake Repair
Changing brake pads is a frequent do-it-yourself brake repair procedure. It is critical to follow the manufacturer’s instructions and safety warnings, as well as to utilize high-quality replacement components.
Flushing and refilling brake fluid is another typical do-it-yourself chore. It is critical to use the proper fluid type and follow the manufacturer’s directions.
Adjusting brake calipers is a simple procedure that may be completed as a do-it-yourself activity.It is essential to follow the safety precautions and instructions provided by the manufacturer.
Professional Brake Repair
- Replacement of brake rotors: Replacing brake rotors necessitates using specialist equipment and skills. If the rotors are twisted, fractured, or excessively worn, it is critical to seek professional assistance.
- Replacement of brake lines or hoses: Replacing brake lines or hoses necessitates using specialist equipment and skills. If the lines or hoses are damaged or malfunctioning, it is best to get professional help.
- Replacement of a defective brake booster necessitates using specific equipment and skills. Obtaining experienced help is crucial to ensuring that the replacement is done correctly.
- ABS repairs: ABS system repairs need specific equipment and knowledge. Whenever there is an issue with the ABS system, it is critical to seek professional assistance.
Also, Check:
- Brake Shuddering After New Rotors and Pads
- Why Does My Car Shake After Changing the Brake Pads?
- Can You Use Front Brake Pads on The Rear?
- How to Install Anti-Rattle Clips on Brake Pads
- Brake Pad Lifespan Explained
- Driving Without Brake Pads: How Long is Safe?
- How Long Do Brake Pads Last: Brake Pad Lifespan Explained
- How to Fix New Ceramic Brake Pads Making Grinding Noise
- Ceramic vs. Semi-Metallic Brake Pads: Which is Better?
- Ceramic vs OEM brake pads
- Why Are My Brakes Grinding After New Pads And Rotors
- Ceramic vs Organic Brake Pads
- Ceramic vs Carbon Fiber Brake Pads
Conclusion
Lastly, properly functioning brakes are critical for safe driving. Several factors, including worn brake pads, jammed brake calipers, warped rotors, or malfunctioning brake lines, can cause brake problems.
Certain brake repairs operations, such as changing brake pads or fluid, are do-it-yourself projects, while others need expert assistance. It is critical to prioritize safety and seek expert assistance when necessary to verify that the brakes are working correctly.
Recall that brakes are an important safety device, and any problems should be remedied as soon as possible to maintain safe driving.